Spill Training & Procedures
Spill Containment Training
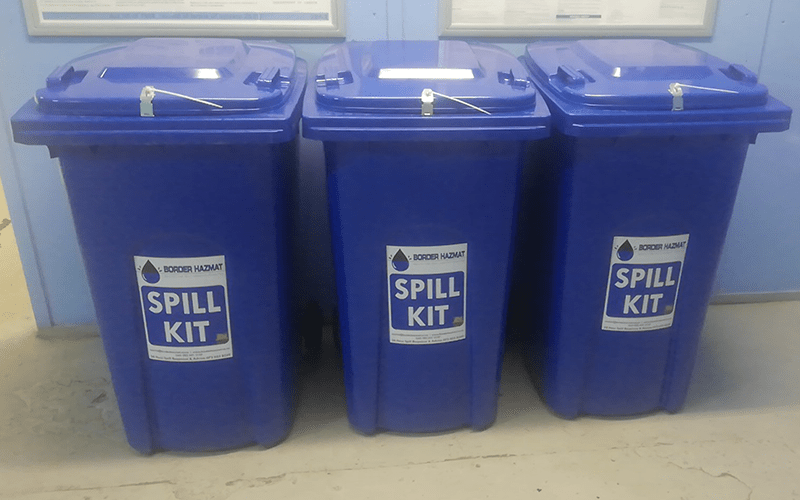
One of the key defensive measures when it comes to preventing pollution are spill kits, however a more valuable asset is well trained first responders. By ensuring you have suitable spill control and well-trained staff you can ensure if a spill does occur its effects will be minimised. Often the health and safety/environmental manager is aware of how to use spill kits, but they are rarely the first responders to a spill. By the time the alarm has been raised and they have gotten to the spill its severity has drastically increased.
Our spill containment training focuses on giving your staff the confidence and competence to properly react in the event of a spill.
A typical spill containment training session lasts about 1 hour and includes a practical demonstration outlining the following:
Background on why pollution prevention is so important.
Outline your Spill Containment Procedure and discuss in detail decision-making prior to commencing clean up.
Ensuring operatives are aware of prioritisation when dealing with a spill situation to protect personnel, environment & property.
Highlight additional requirements following clean up i.e. waste disposal, restocking and documentation.
A practical demonstration.
Question and answer session.
Certificates issued to all delegates following training completion.
7 Step Spill Procedure
Step 1
Assess The Risk
From the moment a spill occurs and throughout the response, determine risks that may affect human health, the environment and property. ALWAYS put SAFETY FIRST. If possible, identify the spilled material and determine how much was spilled.
Step 2
Select Personal Protective Equipment
Choose the appropriate Personal Protective Equipment (PPE) to safely respond to the spill. Consult Material Safety Data Sheets (MSDS) and literature from Chemical and PPE manufacturers for the best recommendations. If you are uncertain of the danger and the spilled material is unknown, assume the worst and use the highest level of protection.
Step 3
Confine The Spill
SPEED COUNTS! Limit the spill area by blocking, diverting or confining the spill. Use contained absorbents such as socks and booms as found in our spill kits. STOP the flow of the liquid before it has a chance to contaminate a water source. Spill kits are designed to facilitate a quick, effective response.
Step 4
STOP THE SOURCE
After the spill is confined, stop the source of the spill. This may simply involve turning a container upright or plugging a leak from a damaged drum or container. Products like the Repair Putty as well as barrel patches and cone plugs are effective at stopping leaks. Transfer liquids from the damaged container to a new one.
Step 5
Evaluate The Incident and Implement Clean-Up
Once the spill is confined and the leak has been stopped, it is time to re-assess the incident and develop a plan of action for implementing the spill clean-up. Pillows and mat pads are commonly used to absorb the remainder of the spill. Simply place the pillows and pads throughout the spill area. Unused absorbents are not hazardous. However, once the absorbents are saturated with oils, solvents etc. they may be considered hazardous waste and must be disposed of properly.
Step 6
Decontaminate
Decontaminate the site, personnel and equipment by removing or neutralizing the hazardous materials that have accumulated during the spill. This may involve removing and disposing of contaminated media such as soil that was exposed during the spill incident. An effective decontamination area ensures the health and safety of emergency responders.
Step 7
Complete Required Reports
Complete all notifications and paperwork required by local and governmental guidelines for reporting spill incidents. Failure to do so can result in severe penalties.

